
We began by getting this rear section of the bottom glassed up with the last of the epoxy that was on-hand.

Unfortunately, there was not enough left to do this section or the middle section. Full disclosure, I also needed more fiberglass to do the center section, so it was not just a function of being out of resin.

Another shot. Glass is cut, fitted and ready for epoxy.

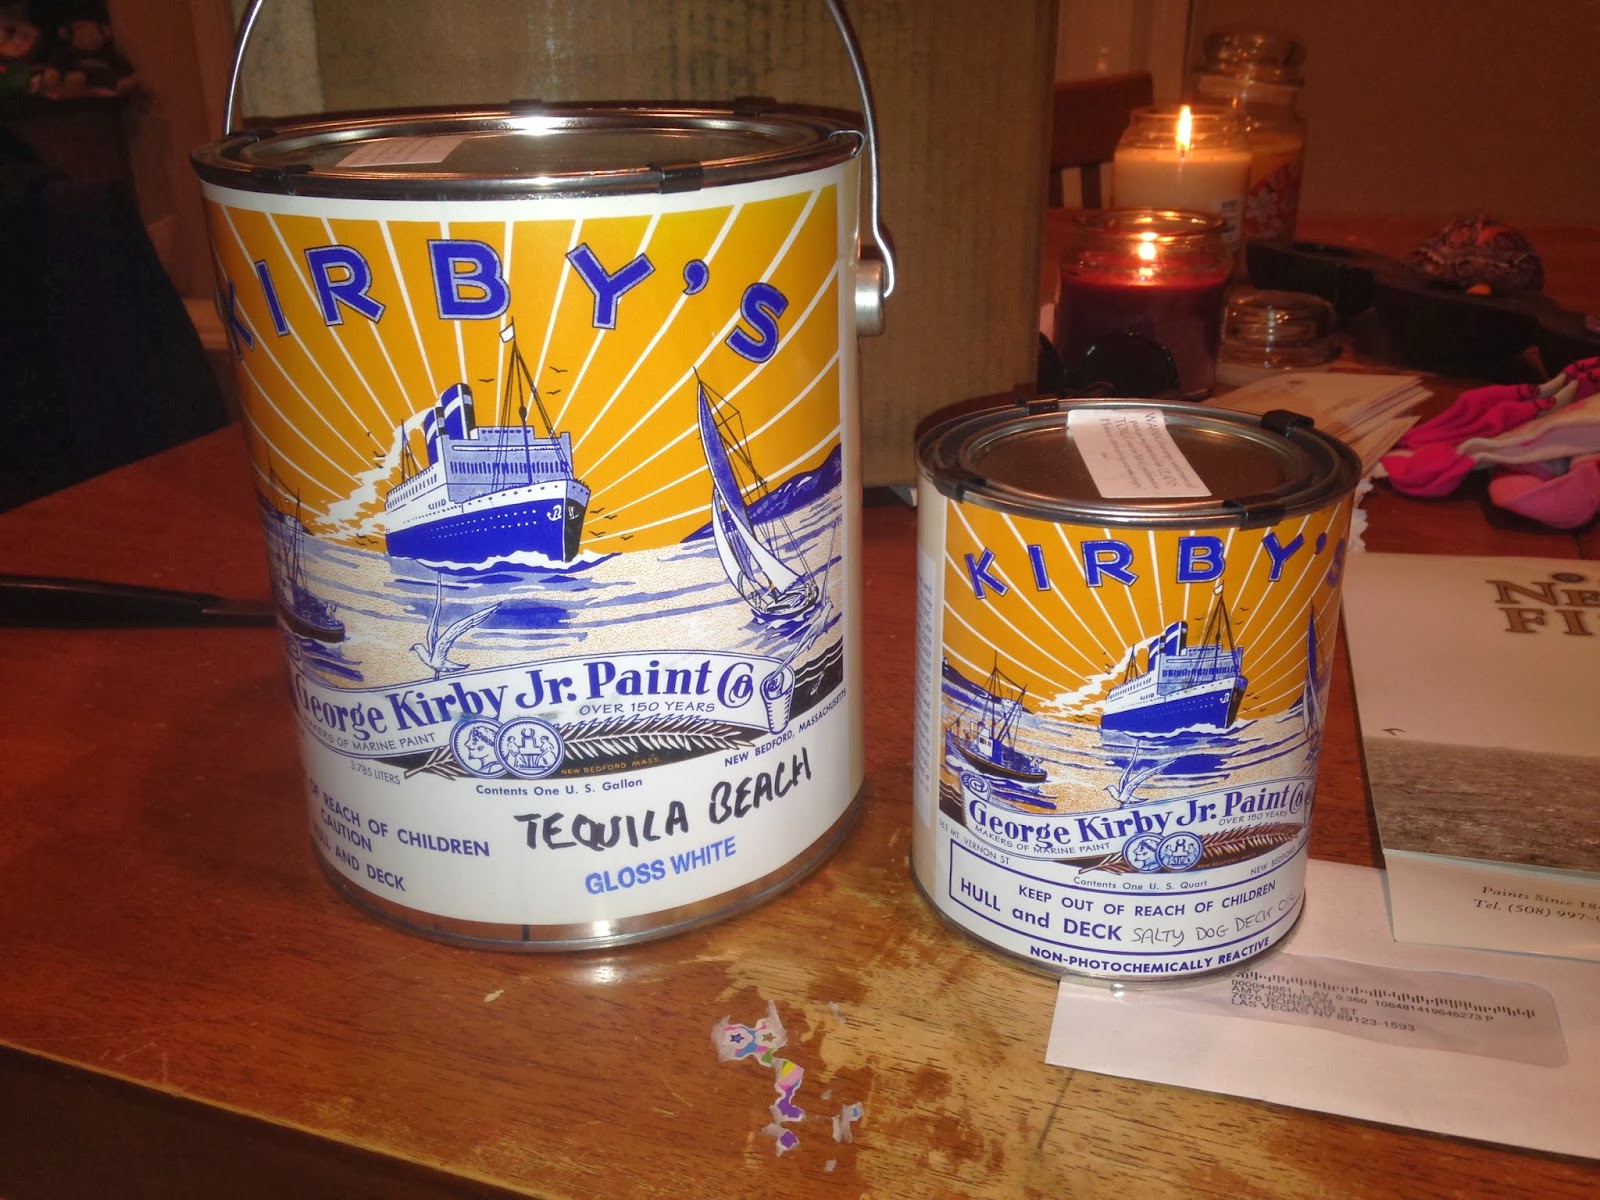
While I was waiting for more stuff to show up that I had ordered, the paint for the inside of the hatches and the exposed deck areas showed up. George Kirby Jr Paint Company is not my discovery. Brad Dimock is using this stuff on his Dories, and he had gone to the trouble to take a jar of sand from Below Lava (Tequila Beach) and have it color matched into a boat paint. So yeah, he did all of the hard work, and the guys at Kirby Paint get some more money out of the deal. Win-win in my book. I also ordered some 'Salty Dog Deck Oil' for the inside pieces that do not get fiberglass.
So the day finally came. I had a 5 day break on boat building, but my Epoxy and fiberglass showed up from Raka. Note the roll of fiberglass weighed 136 pounds!


Now that I had supplies I was able to finish glassing the interior. This is 18oz glass. I'm still not sure what weight the other glass was that I used on the bottom, but it is probably 30oz+, and there are 2 layers on the inside of the bottom.

Starting to glass up the interior components we had cut a few weeks back. These are the sides of the boatmens footwell and our inlay piece for the transom.

Getting everything fitted in the stem.

Here it is Post-epoxy

Getting ready to cut out for the bulkhead glassing project.

Getting the transom area cut and ready for epoxy. Figured I could get some added strength for the bow-eye by overlapping the layers. Makes sense right? The epoxy resin in the background didn't last long.

Glass was cut for all of the bulkheads at the same time, so I could just get them sticky. This all took place in nightly 4 hour shifts over the course of 4 days.

Closeup of the transom area.


First 3 bulkheads wetted out.

Transom is kicking

1. Glass the plywood for the sides before you assemble the boat.
2. Blue tape is a bad idea.


Loose fitting and pre-cutting all of the side pieces.

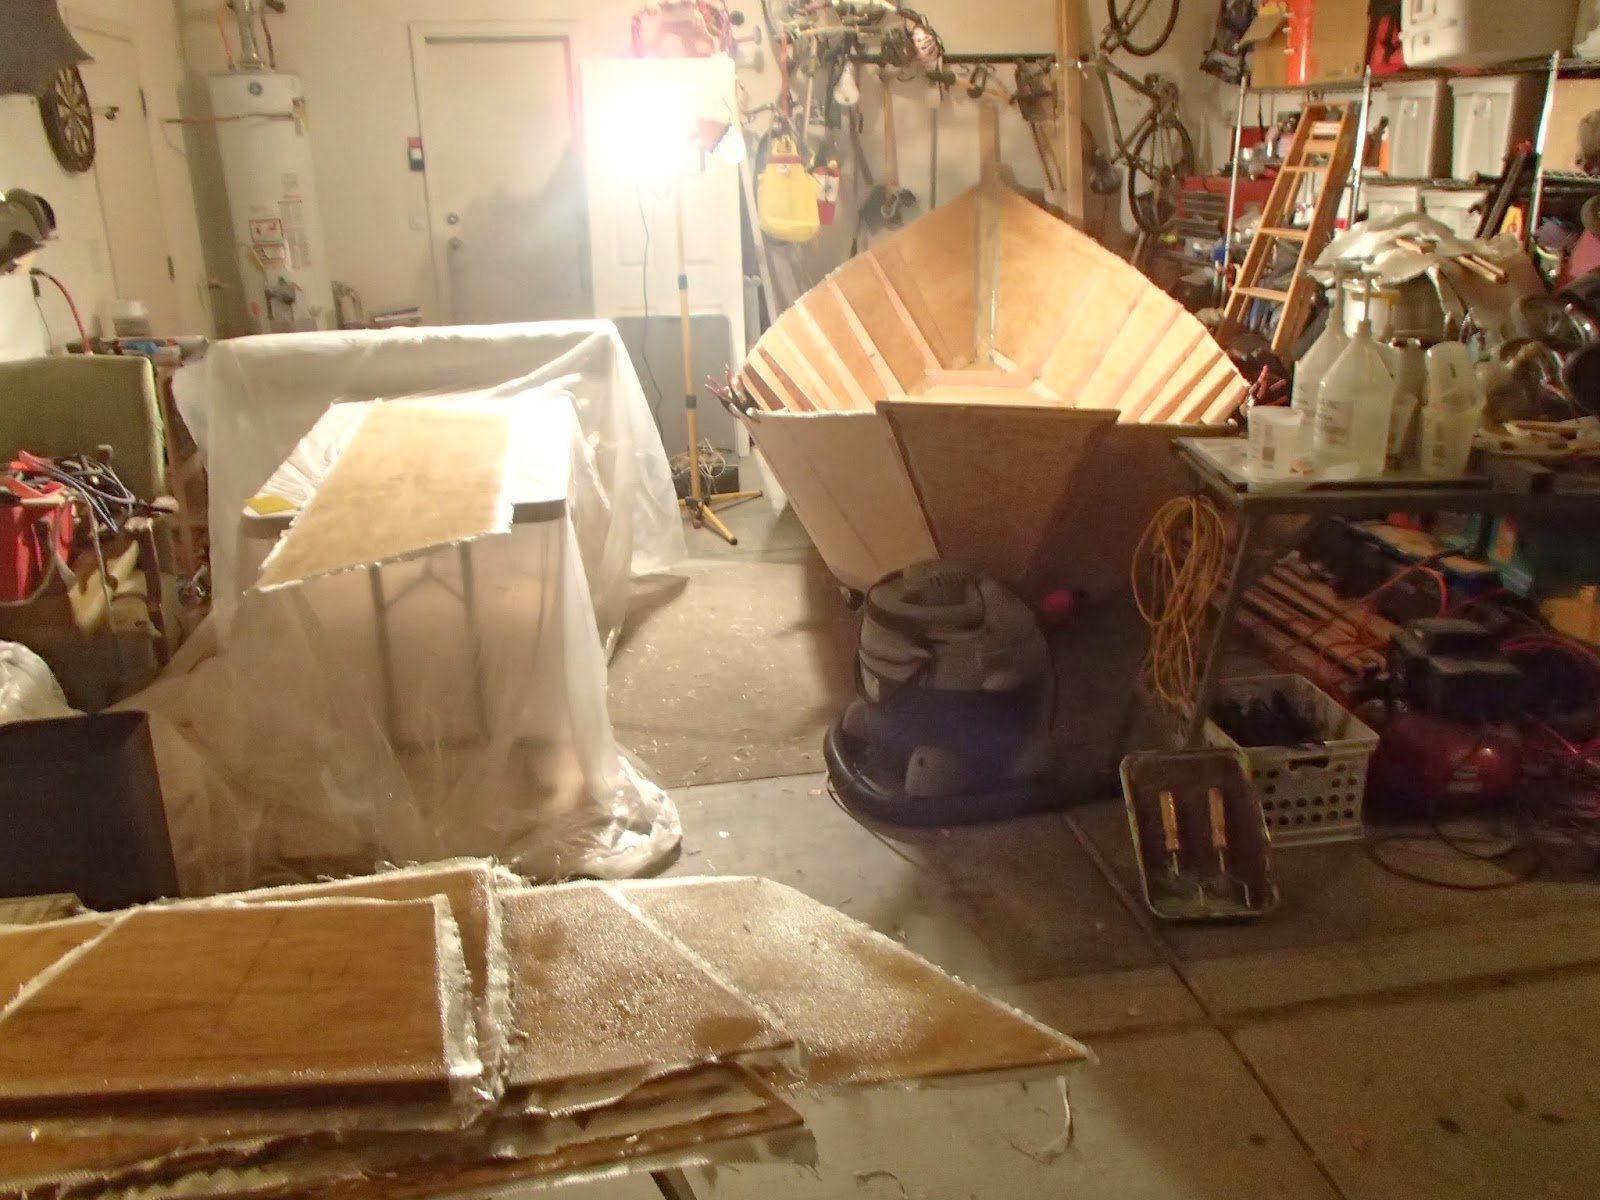
Overall shot of Matkat Werks

Before of the front 4 areas about to be pummeled by epoxy.

Done.

Couple more trimmed and ready for resin.


A few more sections of the inside all ready to kick.


A few more. Getting closer, but will there be enough epoxy???


All ready to sand. Gasp. Lots of sanding to do!

All of these were tackled at once, and there was just barely enough resin to do the job.

But the job got done. Woo hoo!


Here is a recap:
-The bottom has 2 layers of thick glass, epoxy and a flow coat.
-The sides are all glassed up with 18oz fabric
-The 'wet side' of all of the bulkheads (thwarts) are all glassed with 18oz of fabric.
-All of the extra fiberglass was sanded off inside the boats, along the top and on all of the bulkhead pieces.
-The inside of the boat and surface of the bulkheads were sanded to 220 grit.
So now that all of that work was done, the bulkheads and deck supports were all clamped back in to see how it all fits.


I then went about the task of screwing, bolting and putting 5200 on everything. Going to spend some time getting the rear hatch opening sorted out so that it will take a cooler, so then the deck supports can go in and start on the hatches, decks, lids etc.


No comments:
Post a Comment