Here is the front seat area.


You can see the work done in the Stem Hatch area here. We have the side deck supports in along with a brace piece to ensure the area where the stem hatches and the stem proper meet do not blow out in the first big wave she plows through.

Here is the rear hatch framing. I made it wide enough to fit a cooler, and it will fit either of my 100+ QT Igloos. The idea being the cooler can slide in up against the bulkhead delineating the aft portion of the boatmens footwell area. When I need to get into the cooler, I can just slide it forward and have clearance to fully open the lids. I would rig up some eyelets or something to strap the cooler with to keep it secure. I would think keeping the cooler more centered in the boat would help with the overall balance once in the water as well. Moving the cooler fore will allow more storage room for drybags inside the rear hatch area. It would also allow for a few milk crates in the hatch for fruit and produce.


The boatmen's footwell area before the framing goes in. I have decided to modify this slightly and NOT include the angled hatches here. I will keep them flat so there is a nice flat surface to sleep on once everything is decked. Having the ability to sleep on the boat is a pretty important feature for me.


Getting the front hatch framed in. I decided to stick with the off-center design so I could get some longer items through the hatch lid, like my 'Roll-A-Table', or an umbrella The final feature worth pointing out about the front hatch is that it is wide enough for a 36-pack of cans to fit in. I have tried to think of everything...

Front hatch is all framed in. The area under the front seat should be great for storage of extra beer. I will likely put some eyelets on each side (or against the bulkhead at frame #7) of this front hatch area to strap in a couple of 5 gallon water jugs.


In this picture you can see the delineation of the footwell area along with some intermediate deck framing supports around the 2 amidships hatches. I also put some 2x4 pieces in at the boatmens seat area. This will aid in support (for my fat ass) along with something to attach the seat rails to.

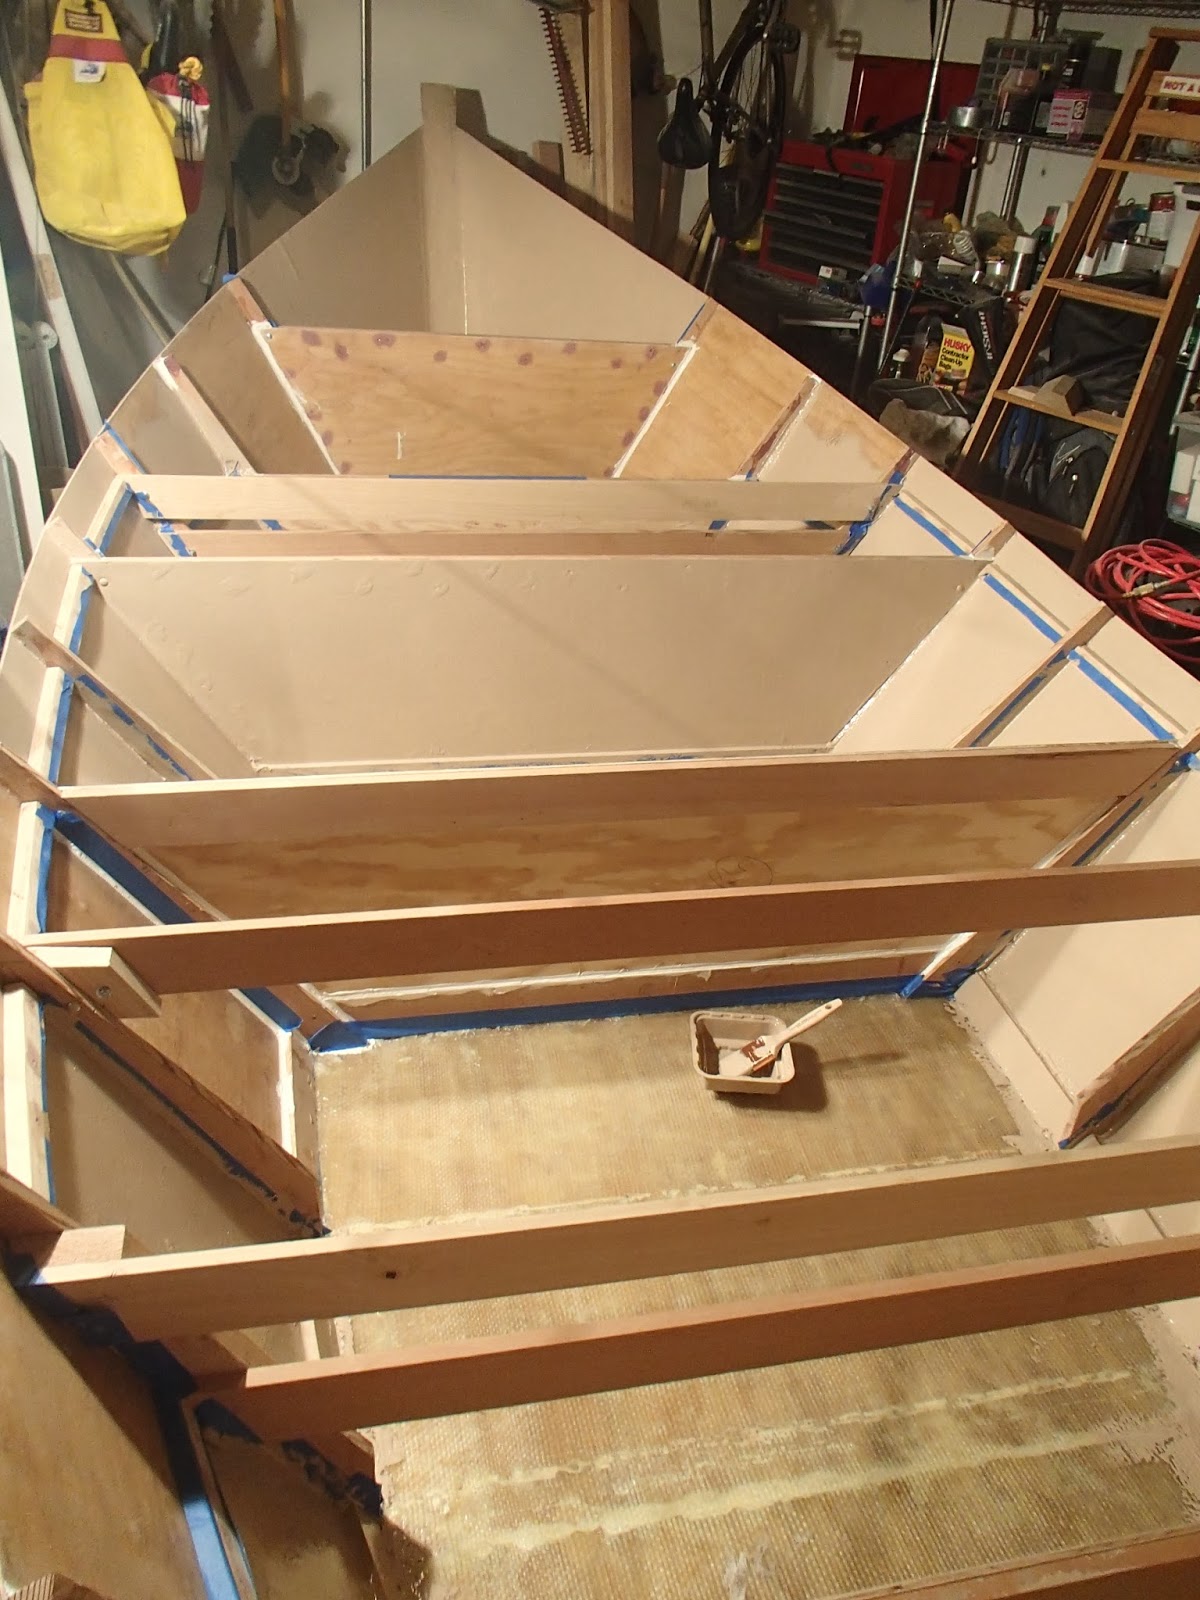
An overview shot. Next is to rout out the underside of the deck support at frame #4 so the cooler will slide under it and secure to the bulkhead at frame #5 (good catch here Amy).


I am going to try and make some meaningful progress at the footwell area today. This should be pretty interesting as I also need the floor to slope to the self-bailer. I will go into more details on how the bailer works once I get that installed. I have an idea for a smaller boatmen hatch to store small items (point-and-shoot camera, sunscreen, beer cozy, etc.) and have them readily accessible/easily stow-able. Half the fun of building your own boat is the customization!


I also have to think about a guttering system and decide how I want to seal up the hatches proper. The next hatches to frame in after the footwell will be the stem and transom hatches. There are some funky angles here, so those will probably be last.