Dory

Dory

Thursday, January 30, 2014

Glassing, Sanding & Thwarts, Oh My!

So remember when I said I was going to post more Blog updates?  Ok good, I was hoping that one went pretty much unnoticed.  So the last time we were all together here we had just finished cutting down the sides and had lofty dreams of unicorns, epoxy and fiberglass.  Well I was getting low on Epoxy, and had about 3/4 of a gallon of WEST left.  Knowing this was not going to be enough to do much of anything, we ordered more.  And some other stuff.  Lots of heavy other stuff.

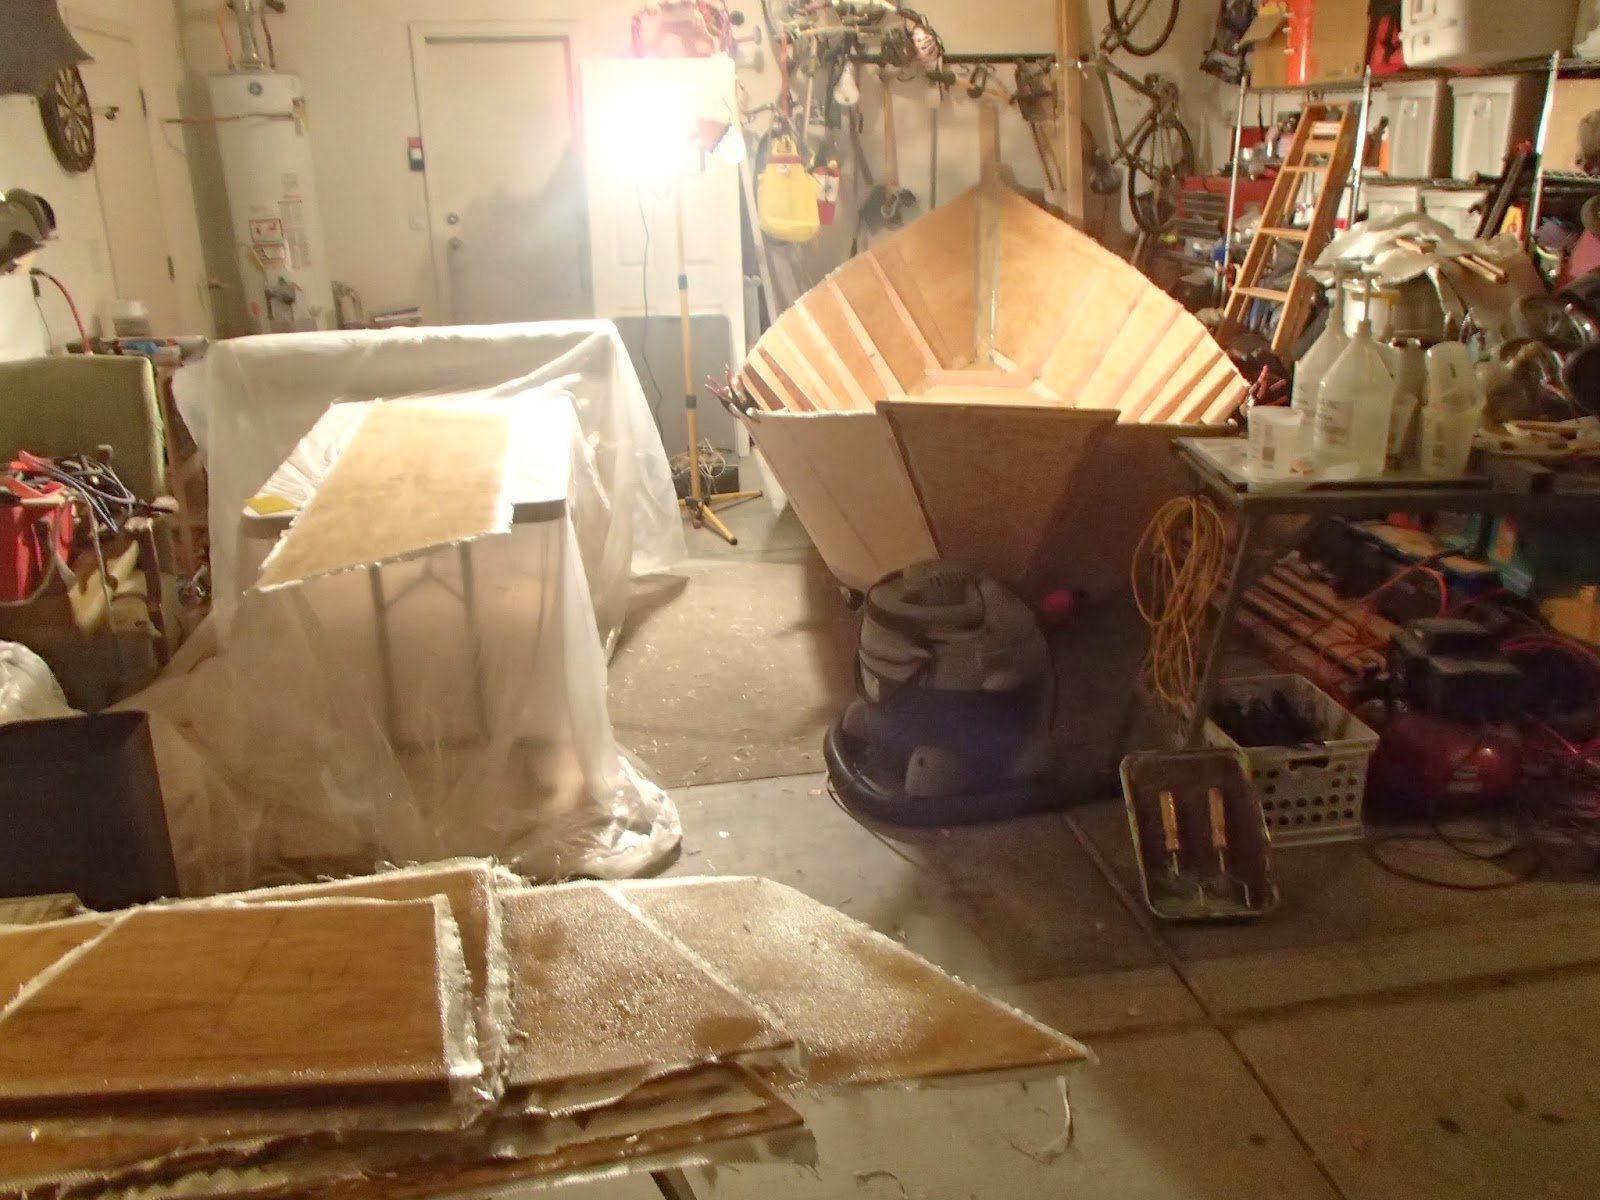
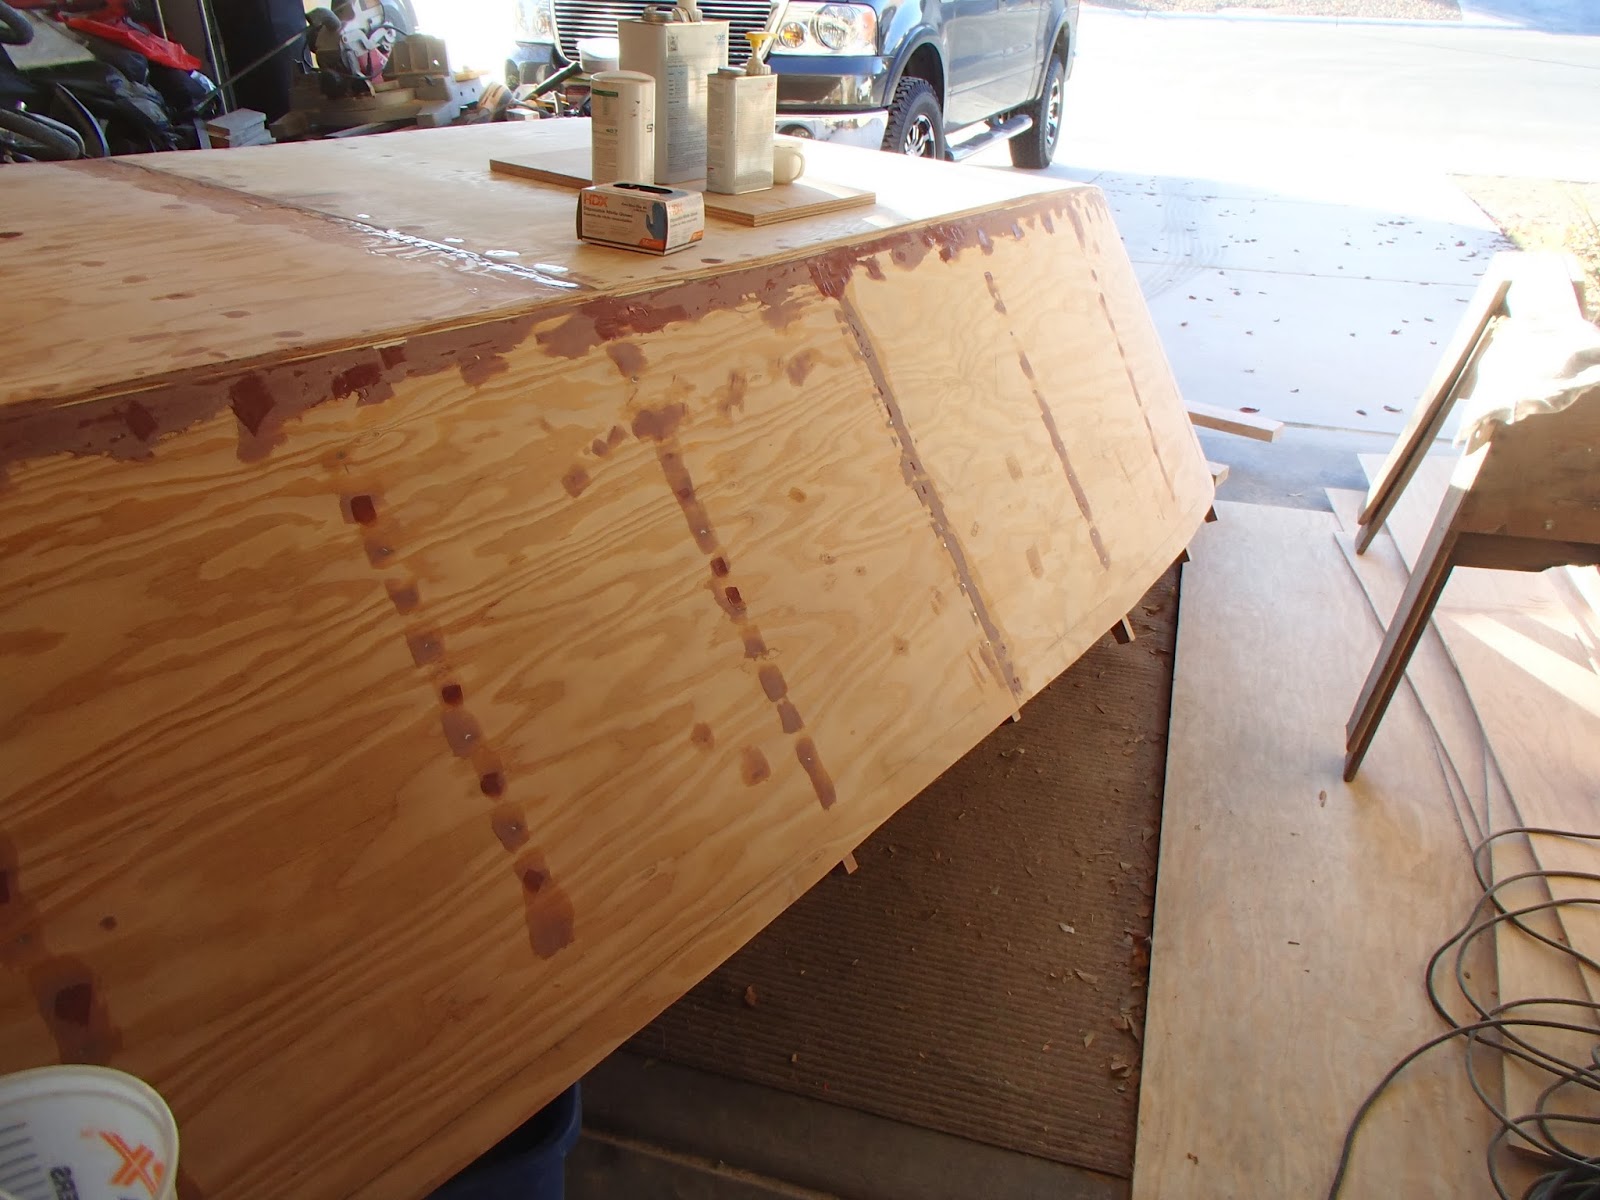
We began by getting this rear section of the bottom glassed up with the last of the epoxy that was on-hand.


Unfortunately, there was not enough left to do this section or the middle section.  Full disclosure, I also needed more fiberglass to do the center section, so it was not just a function of being out of resin.

Another shot.  Glass is cut, fitted and ready for epoxy.

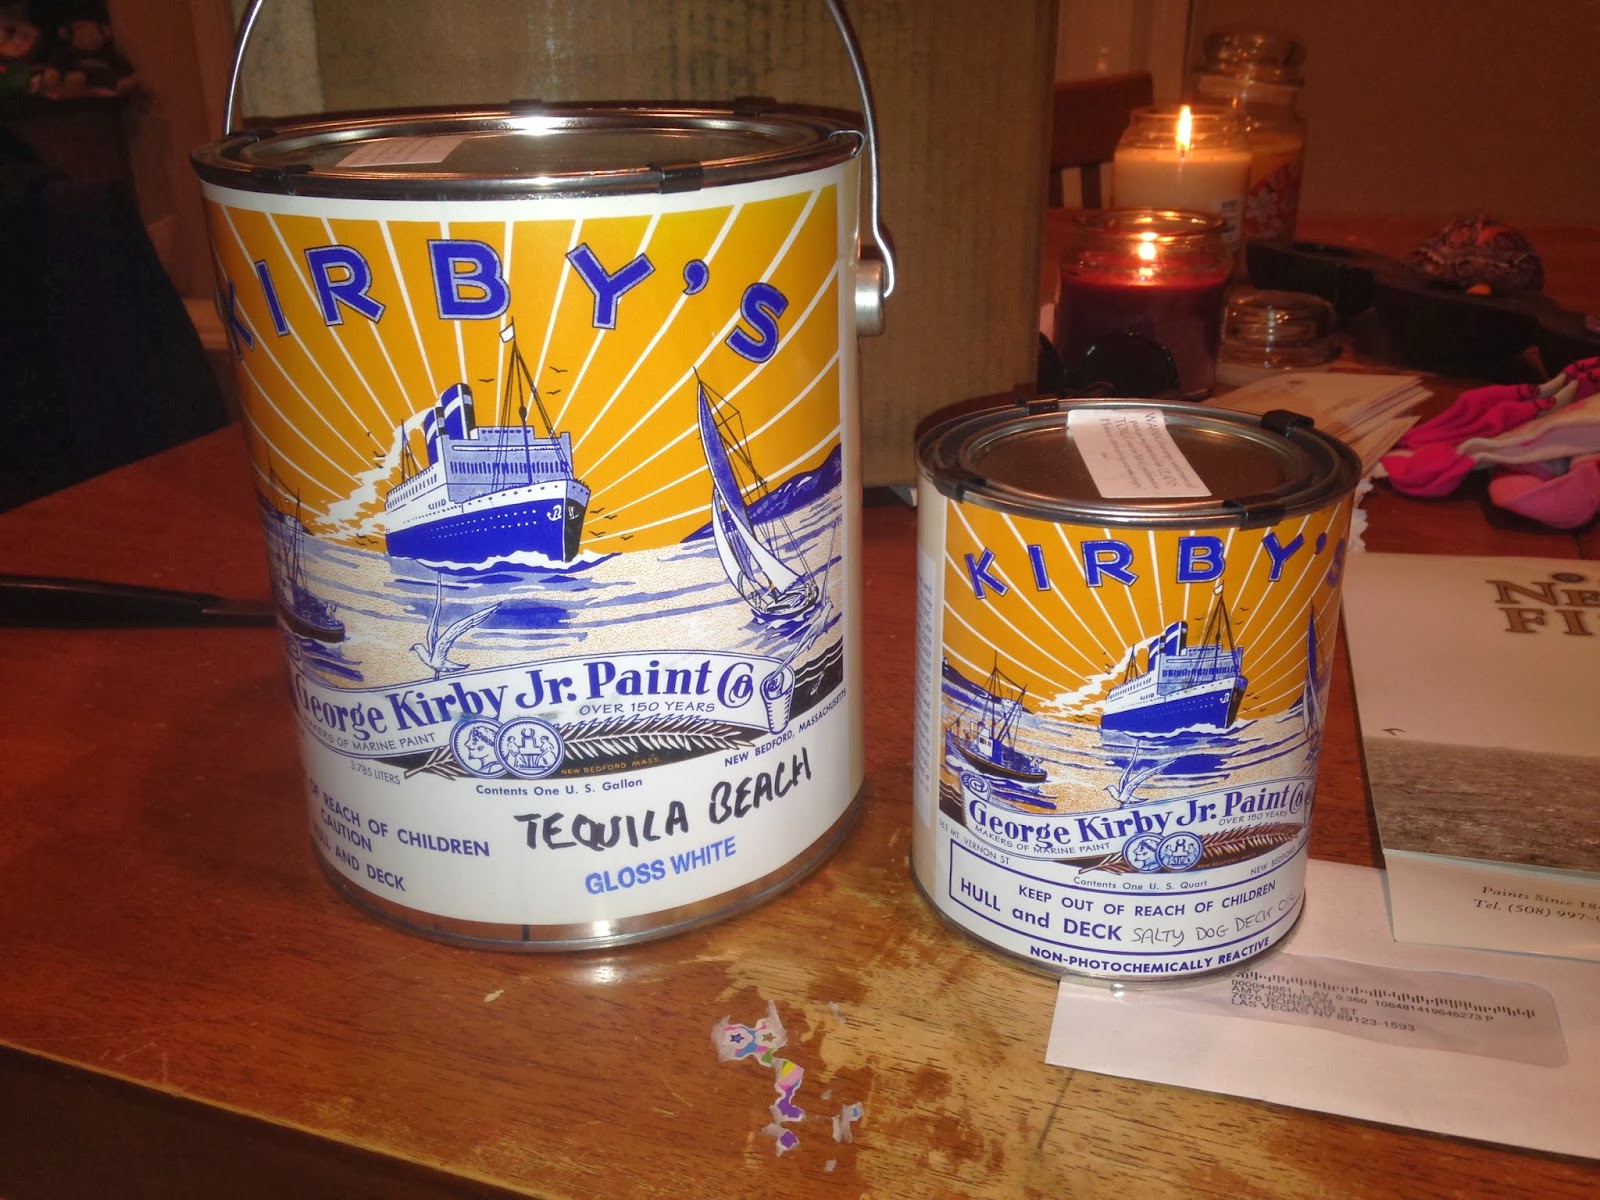
While I was waiting for more stuff to show up that I had ordered, the paint for the inside of the hatches and the exposed deck areas showed up.  George Kirby Jr Paint Company is not my discovery.  Brad Dimock is using this stuff on his Dories, and he had gone to the trouble to take a jar of sand from Below Lava (Tequila Beach) and have it color matched into a boat paint.  So yeah, he did all of the hard work, and the guys at Kirby Paint get some more money out of the deal.  Win-win in my book.  I also ordered some 'Salty Dog Deck Oil' for the inside pieces that do not get fiberglass.
So the day finally came.  I had a 5 day break on boat building, but my Epoxy and fiberglass showed up from Raka.  Note the roll of fiberglass weighed 136 pounds!


Now that I had supplies I was able to finish glassing the interior.  This is 18oz glass.  I'm still not sure what weight the other glass was that I used on the bottom, but it is probably 30oz+, and there are 2 layers on the inside of the bottom.

Starting to glass up the interior components we had cut a few weeks back.  These are the sides of the boatmens footwell and our inlay piece for the transom. 

 Getting everything fitted in the stem.

 Here it is Post-epoxy

Getting ready to cut out for the bulkhead glassing project.

 Getting the transom area cut and ready for epoxy.  Figured I could get some added strength for the bow-eye by overlapping the layers.  Makes sense right?  The epoxy resin in the background didn't last long.

Glass was cut for all of the bulkheads at the same time, so I could just get them sticky.  This all took place in nightly 4 hour shifts over the course of 4 days.

Closeup of the transom area.
 

First 3 bulkheads wetted out.


Transom is kicking

 Here is the remaining cloth cut for the bulkheads.  I then started cutting out all of the pieces to finish the sides.  Some important lessons have been learned thus far:

1.  Glass the plywood for the sides before you assemble the boat.
2.  Blue tape is a bad idea. 


 Next round of bulkheads.

Loose fitting and pre-cutting all of the side pieces.

Overall shot of Matkat Werks

Before of the front 4 areas about to be pummeled by epoxy.

Done.

Couple more trimmed and ready for resin.
A couple more bulkheads done.

 Last bulkhead glassed up.


A few more sections of the inside all ready to kick.


A few more.  Getting closer, but will there be enough epoxy???


All ready to sand.  Gasp.  Lots of sanding to do!

All of these were tackled at once, and there was just barely enough resin to do the job.

But the job got done.  Woo hoo!


 Here is a recap:
-The bottom has 2 layers of thick glass, epoxy and a flow coat.
-The sides are all glassed up with 18oz fabric
-The 'wet side' of all of the bulkheads (thwarts) are all glassed with 18oz of fabric.
-All of the extra fiberglass was sanded off inside the boats, along the top and on all of the bulkhead pieces.
-The inside of the boat and surface of the bulkheads were sanded to 220 grit.

So now that all of that work was done, the bulkheads and deck supports were all clamped back in to see how it all fits.  


I then went about the task of screwing, bolting and putting 5200 on everything.   Going to spend some time getting the rear hatch opening sorted out so that it will take a cooler, so then the deck supports can go in and start on the hatches, decks, lids etc.


So I learned a lot in the last few weeks.  One of the most important lessons, was to order materials before you need them.  Of course, this assumes there is an unlimited supply of money.  I planted some quarters, poured on some Miracle Grow, but dammit, still no money tree.  So I sold the brewing equipment.  And I am glad I did.  I now have 3 more gallons of epoxy, the bottom layup materials and all of the latches for the hatches.  Going to pick up some more 5200 tomorrow (fast kick again), then there is a lot to be done and lots of materials on-hand to get it done!

Saturday, January 11, 2014

Offsides

Now that all of the deck support pieces and bulkheads are done, I started working on the second layer of fiberglass on the inside bottom.  I had enough of the glass from Scotty to do everything but the area under the boatmens footwell.  At this point, I have the front and back 2 compartments done.  More glass and epoxy should show up end of next week.

Here is a shot of the front with the second layer of glass.


Here is a shot of the back with the second layer of glass

Gary cuts the sides down.  This turned out to be less stressful than I thought.  It went pretty smooth.


Once the sides were cut down, we worked on getting everything true, cutting the frame tops off, and cleaning things up around the stem and transom.

Thar she be.  Miller Time.

Monday, January 6, 2014

More Demo and Clean Up Stuff

I spent yesterday cleaning up all of the screw holes and screw nubs resulting from removing some of the bottom frame pieces on Saturday.  I picked up some cutting wheels for the Dremel, and they got me close, but not where I wanted to be.  At that point I called it a day and watched some playoff football.

Today I grabbed some grinding wheels for the Dremel.  This worked a whole lot better.  I was able to get everything flush with the bottom of the boat.  There is just a little more of the white pookie to clean off before it gets another layer of glass.

Despite all of this, there was something that was still bothering me.  I didn't like the look of the bottom of the frames against the chine.  It somehow looked unfinished and like the hatch spaces were somehow smaller.  Here is a before picture from earlier for comparison:


Notice in the picture above that the frame bottoms are basically as we cut them, just without the bottom frame piece.  In the pictures below, you will notice I cut the bottom of the frames off at a 90-degree angle with the bottom of the boat.  I think this makes a very nice clean line, and adds to storage.  Maybe not in volume, but in squareness.  Plus I like the look better.


This view really does justice to the modification.


Did my takeoff for a fiberglass order.  It's about time to get really sticky for a few weeks and make this thing watertight and dyno-mite!

Saturday, January 4, 2014

New Year, New Boat Stuff

Well, again, it seems hard to keep up with the Blog daily.  I will try and do better next week.  Anyway, there has been lots of progress the last week, and this post has a LOT of pictures.

Once I got the last little bit of fairing sanded off, I laid out and cut the fiberglass for the chines.  6 Pieces, each one almost 16 feet long.


Laid out for the overlaps.


The final couple pictures before we flipped the boat onto her keel.


Here she is on the dollies for the first time.  We spent the next hour contemplating the inner decking.


I pretended to row it.


Lexi is excited for when we get to go camping for the first time.

Showing me they can lay down in the boat.  Generally, being cute and funny.  Charlie also can't wait to go camping out of the boat!

Transom hatch bulkhead and support at Frame 1

Bulkhead at the Stem with support at Frame 10

I glassed up the transom with a piece of fiberglass mat and some 6" 6oz Tape

Ran a strip of the 6" up in the inside of the stem, over the 2" biax.

I spent one evening last week getting a bunch of the plywood we would need for bulkheads sorted and trimmed to large/rough size.

What Amy calls my treasure map.  These are rough plans for the hatches.  Notice there are no dimensions, we have to figure out all of the sizes and proportions.  This is truly a one-off.

Shot of the bulkheads and deck supports.  There are a few modifications left to make.  The rear seat bulkhead is going to be dropped a few inches.  

Here you can see the products of some of our demolition, and mostly Gary's precision with the circular saw.  When we put the bottom on, we had only planned on removing frame #4, which is the middle of the back hatch.  Last night, I think we were talked into taking out the bottom of Frame 6 as well.  By talked into, I mean I was doing the convincing.  I figured it would help open up the area underneath the boatmens footwell, thereby making those side hatches more usuable.  

If you look at the pictures below, you can see I talked Gary into a little more demo than that today.  We removed the bottom of frames 3, 4, 6 & 8.  Pretty  much anywhere a bulkhead doesnt reside.  

If anyone is interested, that 3M 5002 Marine Sealant is bomber.  As the label states, "mechanical removal required".  Well, we have the technology. 

Here you can see (From right to left) the bulkhead at frame 2, the missing lower frames at #3, #4, the Bulkhead at #5, and the removed bottom at frame #6 (this is the boatmens footwell).


A clear shot of the middle of the boat.  Bulkhead at #5, removed frame bottom at #6, bulkhead at #7, back of seat at #8, and the front bulkhead at #9.  In front of this bulkhead is the passengers footwell.


Here is a shot of the front of the boat (stem or bow).  Bulkhead at #7, seat brace at #8, along with the removed bottom frame at #8 (this one was a real bitch.  Thanks again 3M), bulkhead at number #9, footwell, with the front hatch bulkhead at frame #10.

In the coming days, we will complete the deck supports, adjust the rear seat configuration and begin building the bulkheads and framing pieces around the boatmens footwell.  After that, we should be able to get some serious interior glassing done.  We have to glass all of the interior walls, bulkheads and footwell.  I also want to add some more to the inside bottoms of the hatches.  


Saturday, December 28, 2013

The Forecast Calls for Fair(ing)

Yes, the time has come to begin filling all of the screw holes, dings, gouges, and screwless holes (how did that happen?).  I spent some time on Christmas Eve and Christmas day getting lots of fairing compound mixed up, then fill fill fill!

The goal has been to get everything filled, sanded and ready for chine fiber-glassing by the end of the weekend.  Looks like I am going to make my self-imposed deadline.  Here are some shots after I filled and faired everything, pre-sanding: 


Note to self: next time, use less filler. It was so much sanding.  Something like 4-5 hours worth of sanding.  Here it is today:

Getting ready to lay some 2" tape on the outer Stem Post.

Glass is all wetted down now.  Waiting for it to kick before I sand more.  Also filled in some of the spots that weren't perfect post sanding:


Being a glutton for punishment, I will probably go out later tonight for some more sanding.  It should be a pretty quick and easy affair, however.

Chines get glassed on Monday.  Then we flip it over and get to work on the decks, hatches and interior portions!